
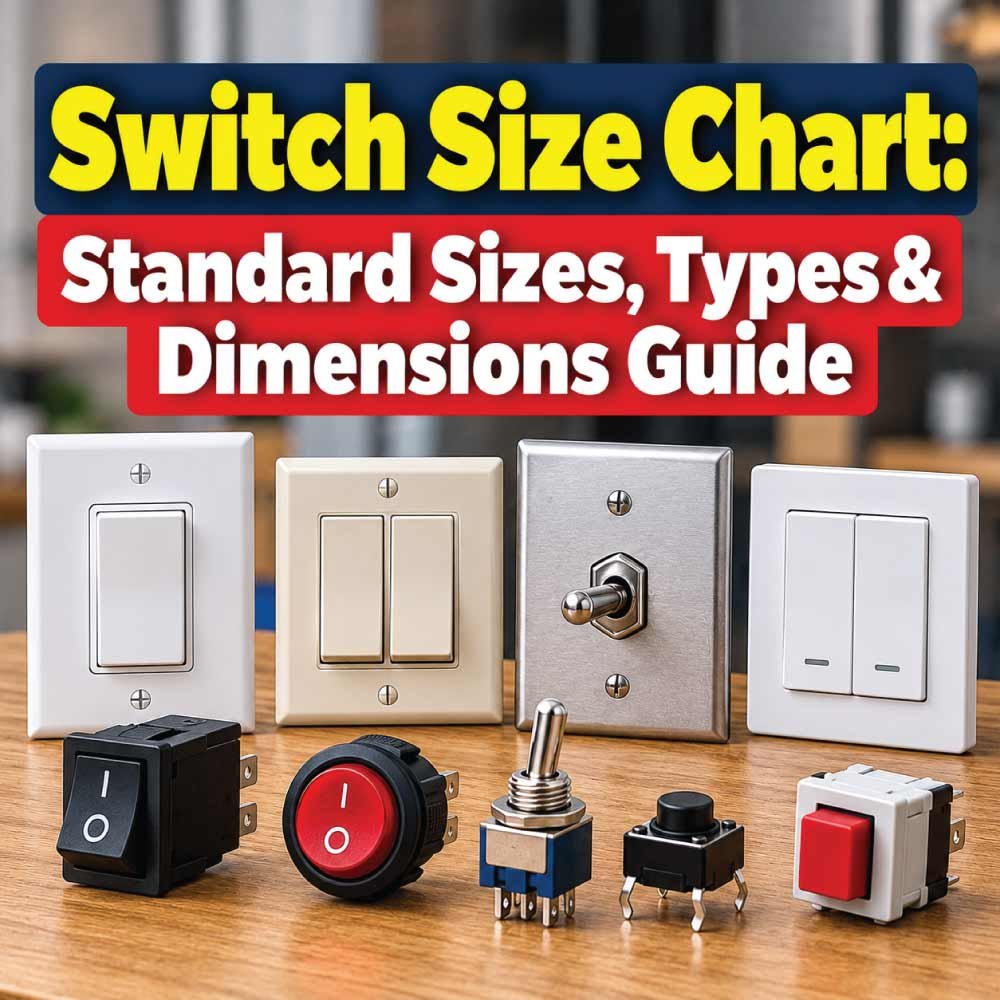
Choosing the correct electrical switch is about more than matching the appearance of a wall plate. The switch size, number of gangs, mounting arrangement, electrical rating, terminal configuration, and physical dimensions all affect whether a switch will fit and operate correctly.
A switch size chart helps compare common switch configurations, gang arrangements, plate dimensions, module formats, and electrical ratings before installation. It is particularly useful when replacing an existing switch, planning a new electrical installation, or checking whether several switches can fit into one box or plate.
This guide explains common switch sizes, dimensions, types, gang configurations, ratings, mounting considerations, measurement methods, and practical selection tips. Because physical dimensions can vary between manufacturers and regional standards, the dimensions shown should be treated as common reference ranges rather than universal specifications.
What Is a Switch Size?
The term switch size can describe several different measurements depending on the type of electrical switch being discussed. It may refer to the physical size of the switch mechanism, the wall plate, the electrical box, the number of switch positions, or the electrical capacity of the device.
For residential wall switches, the most common sizing considerations include:
- Single-gang, double-gang, and multi-gang configuration
- Faceplate width and height
- Switch mechanism dimensions
- Mounting screw spacing
- Electrical box compatibility
- Number of modules or positions
- Current and voltage rating
- Terminal arrangement
- Switch depth
A switch can physically fit a wall opening but still be unsuitable electrically. Likewise, an electrically suitable switch may not fit the existing box or faceplate.
For that reason, physical dimensions and electrical specifications should always be considered separately.
Switch Size Chart
The following chart provides a practical overview of common wall-switch configurations. Exact dimensions vary by region, manufacturer, product family, and mounting standard.
| Switch Configuration | Typical Arrangement | Common Use | Relative Size |
|---|---|---|---|
| 1-Gang | 1 switch position | One lighting circuit | Small |
| 2-Gang | 2 switch positions | Two circuits or functions | Medium |
| 3-Gang | 3 switch positions | Multiple lighting circuits | Large |
| 4-Gang | 4 switch positions | Multiple controls | Larger |
| 6-Gang | 6 switch positions | High-density control | Very large |
| Multi-Module | Several modules | Specialized installations | Varies |
A gang generally describes the number of switch positions or devices accommodated in an assembly. However, gang terminology can differ between countries and product systems, so the actual mounting dimensions should be verified before purchasing.
Common Electrical Switch Dimensions
Switch dimensions are usually discussed using several measurements rather than a single “size.” Understanding these measurements makes replacement and installation much easier.
Faceplate Dimensions
The faceplate is the visible cover surrounding the switch. Its width and height determine how much wall area the finished installation occupies.
Common residential faceplates may be approximately:
- Single-gang: around 70–90 mm wide
- Double-gang: around 115–150 mm wide
- Triple-gang: around 170–220 mm wide
These are broad reference ranges, not universal standards. Some regions use substantially different wall-plate dimensions.
Switch Mechanism Dimensions
The mechanism behind the plate is often smaller than the visible faceplate. Its dimensions must match the electrical box and mounting system.
Important measurements include:
- Mechanism width
- Mechanism height
- Overall depth
- Mounting-hole spacing
- Terminal position
- Required clearance behind the device
Depth becomes particularly important when the box contains several conductors, connectors, or additional devices.
Switch Gang Size Chart
Gang configuration is one of the most important ways to classify wall switches.
| Gang Size | Typical Number of Positions | Typical Application |
|---|---|---|
| 1-Gang | 1 | Single light or circuit |
| 2-Gang | 2 | Two independent controls |
| 3-Gang | 3 | Three lighting controls |
| 4-Gang | 4 | Multiple room functions |
| 5-Gang | 5 | High-control installations |
| 6-Gang | 6 | Multiple circuits or devices |
A two-gang switch assembly may contain two independent switches, but the actual electrical functions can vary. For example, one plate might contain two single-pole switches, while another could combine different switching functions.
Do not assume that gang count tells you the electrical rating or wiring arrangement. Those specifications must be checked separately.
Types of Electrical Switches
Different switch types are designed for different control arrangements. Selecting the correct type is more important than simply matching the external size.
Single-Pole Switch
A single-pole switch is commonly used to control a circuit from one location. It is one of the most familiar switch arrangements in residential electrical systems.
The physical size may resemble other switches, but its terminal configuration and intended function are different.
Double-Pole Switch
A double-pole switch controls two conductors simultaneously and is used in applications where the circuit design requires switching more than one conductor.
It may occupy a similar physical position to another switch while having a different electrical rating and terminal arrangement.
Three-Way Switch
A three-way switching arrangement allows a load, commonly a light, to be controlled from two locations.
The terminology varies internationally. In some regions, comparable switches are described using different names, such as two-way switching.
Four-Way Switch
A four-way switch is used between suitable switching devices to control a circuit from three or more locations.
These systems require the correct combination of switches and wiring. Replacing one device with a visually similar but electrically different switch can cause problems.
Momentary Switch
A momentary switch changes state only while the actuator is being pressed or operated. It returns to its normal state when released.
These switches are frequently used for:
- Doorbells
- Control panels
- Signaling systems
- Specialized automation controls
- Push-button applications
Dimmer Switch
A dimmer allows compatible lighting loads to be adjusted rather than simply turned on or off.
When selecting a dimmer, physical size is only one consideration. Load compatibility, minimum and maximum load requirements, lamp type, and installation conditions are also important.
Switch Electrical Rating Chart
A switch’s electrical rating describes the electrical conditions under which it is designed to operate.
| Specification | What It Indicates |
|---|---|
| Voltage rating | Maximum rated operating voltage |
| Current rating | Rated current the switch can handle under specified conditions |
| AC/DC rating | Type of electrical supply for which the rating applies |
| Load type | Compatibility with resistive, inductive, motor, or electronic loads |
| Frequency | Applicable supply frequency where specified |
| Temperature rating | Permitted operating conditions where specified |
A switch marked with a particular current rating should not automatically be assumed suitable for every type of load at that current.
Motor, transformer, fluorescent, LED, and other electronic loads can have characteristics that differ from simple resistive loads. Always use the rating specified for the actual application.
How Switch Size Relates to Electrical Boxes
A wall switch does not exist independently of its electrical box. The box provides the mounting structure and space for conductors and connections.
Box Compatibility
Before installing a replacement switch, check:
- Box dimensions
- Mounting-hole arrangement
- Box depth
- Available conductor space
- Number of devices installed
- Switch mechanism dimensions
- Faceplate compatibility
A deep switch mechanism installed in a shallow box may create clearance problems even when the front of the switch appears to fit.
Single-Gang vs Multi-Gang Boxes
A single-gang box is designed for one standard device position, while multi-gang boxes provide additional positions.
The physical opening generally becomes wider as more devices are installed side by side.
However, multi-gang assemblies are not simply a matter of multiplying the dimensions of a single switch. The actual spacing, barriers, device widths, and plate design can vary.
How to Measure a Switch
Measuring the existing switch before purchasing a replacement can prevent compatibility problems.
Step 1: Measure the Faceplate
Measure the:
- Overall width
- Overall height
- Corner shape
- Screw-hole locations
Do not assume that a similarly sized decorative plate will use the same mounting system.
Step 2: Count the Gangs
Determine whether the installation is:
- Single-gang
- Double-gang
- Triple-gang
- Four-gang
- Another multi-gang arrangement
Count the actual device positions rather than simply counting visible buttons.
Step 3: Measure the Mounting Pattern
Check the distance between mounting screws or mounting points.
This is especially important when replacing an older switch with a product from another manufacturer.
Step 4: Check the Depth
Measure or identify the available box depth and compare it with the replacement switch.
Smart switches, dimmers, timers, and switches with additional electronics can require more rear clearance than simple mechanical switches.
Step 5: Check the Electrical Markings
Read the markings on the existing device where safely accessible and appropriate.
Look for information such as:
- Voltage
- Current
- Switch type
- Terminal markings
- Manufacturer model number
- Load information
If the wiring or electrical rating is unclear, a qualified electrician should identify the circuit before replacement.
Switch Size by Application
Different applications can require different switch configurations even when the external dimensions appear similar.
| Application | Common Switch Type | Important Consideration |
|---|---|---|
| Room lighting | Single-pole or two-way arrangement | Circuit and control locations |
| Stair lighting | Multi-location switching | Correct switching configuration |
| Bathroom lighting | Suitable rated switch | Location and environmental requirements |
| Outdoor control | Appropriate enclosure/switch | Environmental exposure |
| Fan control | Fan-rated control | Load compatibility |
| Dimmable lighting | Compatible dimmer | Lamp and load compatibility |
| Industrial control | Industrial switch | Current, voltage, enclosure, duty |
The same physical switch size can be used for very different purposes, so application should determine the electrical specification.
Standard Switch Size Considerations by Region
There is no single worldwide physical dimension that applies to every electrical wall switch.
Regional electrical practices can influence:
- Faceplate dimensions
- Electrical box dimensions
- Mounting screw spacing
- Gang measurements
- Module widths
- Switch terminology
- Wiring arrangements
- Voltage and current ratings
For example, a product described as a “two-way switch” in one market may correspond functionally to a product described differently in another market.
This is why searching only for a physical size can produce the wrong replacement.
When buying a replacement, match the regional mounting standard and product specification, not just the appearance.
Also Read:
Modular Switch Sizes
Modular switch systems use individual modules that can be combined within a larger plate or frame.
This approach provides flexibility because one installation can contain different devices.
A modular arrangement might include:
- Light switches
- Push buttons
- Dimmers
- Indicators
- Socket outlets
- Data connections
- Specialized controls
Module Width
Some modular systems use a standardized module width within that particular product family. Multiple modules can then occupy a larger frame.
However, module dimensions are not universally interchangeable between brands or systems.
Always confirm that the module, frame, mounting support, and faceplate belong to a compatible system.
Switch Plate Size vs Switch Size
One of the most common misunderstandings is treating the switch and faceplate as the same component.
The switch mechanism performs the electrical switching function, while the faceplate provides the visible finished surface.
They may have different dimensions.
A large decorative plate does not necessarily indicate a larger electrical mechanism. Conversely, a compact plate can conceal a mechanism that requires substantial box depth.
When measuring an installation, record the dimensions of both components separately.
Also Read:
Factors That Affect Switch Selection
Physical size is only one part of choosing a suitable switch.
Electrical Load
Determine what the switch controls. Lighting, heating, motors, fans, and electronic equipment may have different switching requirements.
Voltage
The switch must have an appropriate voltage rating for the circuit.
Current
Compare the expected circuit load with the switch’s specified current rating.
Switching Locations
Determine whether the circuit needs control from one location or multiple locations.
Mounting System
The replacement must physically attach to the existing box or mounting support.
Available Space
Check the depth behind the plate as well as the visible front dimensions.
Environment
Moisture, dust, heat, outdoor exposure, and other environmental conditions may require an appropriately rated device or enclosure.
Appearance
For decorative installations, also consider:
- Plate finish
- Shape
- Actuator style
- Screw visibility
- Number of positions
- Compatibility with neighboring devices
Appearance should be considered after the electrical and physical requirements have been established.
Also Read:
Common Switch Size Mistakes
Many replacement problems occur because only the visible front of the switch is considered.
Mistake 1: Matching Only the Faceplate
Two plates can look almost identical while using different mounting arrangements.
Mistake 2: Ignoring Depth
A replacement switch may be deeper than the original and create problems inside the box.
Mistake 3: Confusing Gang Count With Switch Type
Two switches can occupy two positions but perform completely different electrical functions.
Mistake 4: Ignoring Load Ratings
A switch should not be selected solely because its current rating appears high enough. The load type and manufacturer’s conditions also matter.
Mistake 5: Assuming Dimensions Are Universal
A “standard switch size” is not necessarily universal across countries or manufacturers.
Mistake 6: Forgetting the Wall Box
The switch, mounting support, faceplate, and electrical box must work together as a complete installation.
How to Choose the Correct Switch Size
A practical selection process can be completed in a few stages.
Start With the Existing Installation
Record the current switch’s:
- Number of gangs
- Faceplate dimensions
- Mounting arrangement
- Depth
- Electrical markings
- Number of terminals
- Switching function
Identify the Electrical Requirements
Determine:
- Circuit voltage
- Expected current
- Load type
- Required switching function
- Number of control locations
Confirm Physical Compatibility
Check that the new device fits:
- The electrical box
- Mounting points
- Faceplate
- Available depth
- Adjacent devices
Verify the Product Specification
The final selection should be based on the manufacturer’s stated dimensions and electrical ratings rather than appearance alone.
If the installation involves unfamiliar wiring, damaged components, overloaded circuits, or uncertain conductors, professional electrical assistance is appropriate.
Switch Dimensions: What Should You Compare?
When comparing two switches, create a complete dimensional checklist instead of relying on one measurement.
| Measurement | Why It Matters |
|---|---|
| Overall width | Determines horizontal space |
| Overall height | Determines vertical fit |
| Mechanism depth | Determines box clearance |
| Plate width | Determines finished wall coverage |
| Plate height | Determines finished wall coverage |
| Mounting spacing | Determines physical compatibility |
| Module width | Important for modular systems |
| Terminal clearance | Helps ensure adequate installation space |
This approach is especially useful when replacing discontinued switches or matching devices from different product ranges.
Smart and Electronic Switch Size
Modern switches may contain electronics for automation, wireless communication, timers, sensors, or other functions.
These products can have different installation requirements from simple mechanical switches.
Before selecting one, consider:
- Device depth
- Neutral-conductor requirements where applicable
- Minimum load requirements
- Compatible load types
- Heat dissipation
- Box capacity
- Manufacturer installation requirements
- Compatibility with the control system
A smart switch that fits the faceplate opening may still be unsuitable if the electrical box does not provide sufficient space or the circuit configuration does not meet its requirements.
Frequently Asked Questions About Switch Sizes
Are all standard switches the same size?
No. Switch dimensions vary according to regional standards, gang configuration, manufacturer, product family, and mounting system.
What does one-gang mean?
A one-gang arrangement generally provides one device position. It does not by itself define the switch’s voltage, current rating, or switching function.
Does a larger switch handle more current?
Not necessarily. Physical size and electrical capacity are separate characteristics. Always check the stated electrical rating.
Can I replace a single-gang switch with a double-gang switch?
Not automatically. A double-gang device generally requires additional physical space and an appropriately sized box, mounting arrangement, and faceplate.
Why is switch depth important?
The rear of the switch occupies space inside the electrical box. Insufficient depth can make installation difficult and may prevent proper accommodation of conductors.
Do switch dimensions vary by country?
Yes. Electrical device dimensions and mounting systems can differ substantially between regions.
Can any switch fit any faceplate?
No. The mechanism, frame, mounting system, and faceplate must be compatible.
Is switch size the same as gang size?
No. Gang size describes the number of positions in an installation, while physical dimensions describe the actual size of the device or plate.
Should I choose a switch based only on its current rating?
No. Voltage, load type, switching configuration, physical compatibility, environmental conditions, and other manufacturer requirements should also be considered.
Practical Tips for Buying a Replacement Switch
Before purchasing, keep the following checklist nearby:
- Measure the existing faceplate.
- Count the gang positions.
- Check the mounting-hole arrangement.
- Measure available box depth.
- Identify the switching function.
- Check voltage and current ratings.
- Determine the load type.
- Confirm regional compatibility.
- Check whether the device requires additional conductors.
- Compare the manufacturer’s dimensional drawing when available.
Taking a few measurements before shopping can prevent the common problem of buying a switch that looks correct but cannot be mounted or wired correctly.
Conclusion
A switch size chart is useful for comparing gang configurations, physical dimensions, mounting arrangements, and electrical characteristics, but there is no single switch size that fits every installation. The correct choice depends on the switch type, box, faceplate, wiring arrangement, circuit rating, load, and regional standard.
For replacement work, measure the existing installation and identify its electrical requirements before selecting a new device. For new installations, consider the box, mounting system, gang arrangement, and intended load together. Most importantly, verify exact dimensions and ratings from the product documentation because manufacturers and regional standards can differ.

Engineer Hassan is a Mechanical Engineer with 16+ years of hands-on experience in mechanical hardware, fasteners, and workshop tools. He focuses on size selection, thread identification, and measurement, helping users choose the correct components with accuracy and safety.