Cotter pins are simple but essential fastening components used in automotive, machinery, construction, aerospace, agricultural equipment, and industrial assemblies. They are designed to lock nuts, clevis pins, shafts, and other fasteners in place to prevent loosening caused by vibration or movement.
Using the correct cotter pin size chart helps ensure proper fastening strength, safety, and long-term reliability.
This detailed guide explains cotter pin sizes, dimensions, materials, types, installation methods, and common applications in simple language.
What Is a Cotter Pin?
A cotter pin is a simple but highly effective mechanical fastener designed to lock components in place and prevent loosening during vibration or movement. It is made from a bent metal wire with two prongs that are spread apart after installation to ensure a secure and permanent hold in assemblies.
It is commonly inserted through:
- Drilled holes in bolts
- Castle nuts
- Clevis pins
- Shafts
After insertion, the two ends are bent apart to prevent the pin from slipping out.
Main Parts of a Cotter Pin
A standard cotter pin is a simple but very important fastening component used in mechanical assemblies. It is designed to lock parts in place securely and prevent loosening during operation. It is commonly used in machinery, vehicles, and structural fittings where vibration resistance and safety are required. It has three main sections.
1. Head
The head is the rounded top section of the cotter pin that acts as a stopping point and prevents the pin from passing completely through the drilled hole. It also provides a gripping surface during installation and removal. The head ensures correct positioning and helps maintain stability in the assembled joint.
2. Shank
The shank is the long, straight body of the cotter pin that is inserted into aligned holes of the components being fastened. It carries the main load and determines the pin’s size and fit. The shank ensures proper alignment and holds parts firmly together before the tines are bent for locking.
3. Tines
The tines are the split legs at the end of the cotter pin that are bent outward after insertion. This bending action locks the pin in place and prevents it from slipping out due to vibration or movement. The tines provide a secure mechanical locking feature that enhances overall joint safety and reliability.
Standard Cotter Pin Size Chart (Inch Sizes)
The following chart shows common cotter pin sizes used in industrial and automotive applications.
| Cotter Pin Diameter | Overall Length | Hole Size Range | Common Applications |
|---|---|---|---|
| 1/32″ | 1/2″ | Small holes | Light-duty equipment |
| 3/64″ | 3/4″ | Precision parts | Electronics |
| 1/16″ | 1″ | Small fasteners | Bicycles, tools |
| 5/64″ | 1-1/4″ | Medium holes | Automotive |
| 3/32″ | 1-1/2″ | Standard bolts | Machinery |
| 1/8″ | 2″ | Large fasteners | Construction equipment |
| 5/32″ | 2-1/2″ | Heavy-duty holes | Agricultural machinery |
| 3/16″ | 3″ | Large shafts | Industrial equipment |
| 1/4″ | 4″ | Heavy assemblies | Heavy machinery |
Metric Cotter Pin Size Chart
Metric cotter pins are widely used in Europe, Asia, and modern industrial systems.
| Pin Diameter (mm) | Length (mm) | Hole Diameter Range |
|---|---|---|
| 1 mm | 10 mm | Small precision holes |
| 1.6 mm | 16 mm | Small fasteners |
| 2 mm | 20 mm | General applications |
| 2.5 mm | 25 mm | Automotive systems |
| 3 mm | 32 mm | Medium machinery |
| 4 mm | 40 mm | Industrial equipment |
| 5 mm | 50 mm | Heavy-duty applications |
| 6 mm | 63 mm | Large shafts |
| 8 mm | 80 mm | Structural assemblies |
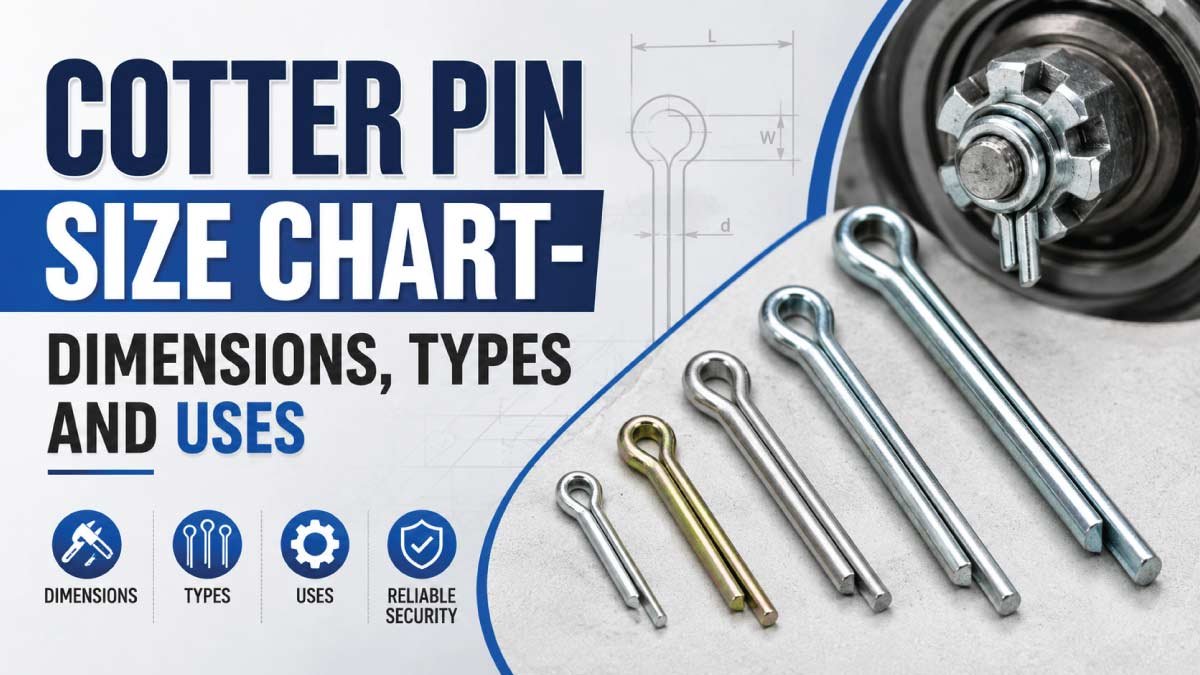
Cotter Pin Dimensions Explained
Understanding cotter pin dimensions is essential for selecting the right fastener for safe and reliable mechanical assembly. Each dimension directly affects how well the pin performs under load, vibration, and operating stress. Proper sizing ensures secure locking, easy installation, and long-term durability in different industrial and mechanical applications.
1. Diameter
The diameter refers to the thickness of the cotter pin wire body. It is one of the most important factors because it determines how much force the pin can withstand without bending or breaking during operation.
Larger diameters provide:
- Higher shear strength
- Better load capacity
2. Length
The length of a cotter pin is measured from the bottom of the head to the end of the longer tine. Choosing the correct length is important to ensure proper fitting and secure locking after installation. It also allows enough material for bending the ends safely.
The pin length should allow:
- Full insertion
- Adequate tine bending
3. Head Size
The head is the flat or rounded top section of the cotter pin that prevents it from passing completely through the drilled hole. It acts as a stop, ensuring the pin stays in place while the bent ends secure the assembly from the opposite side.
Cotter Pin Hole Size Chart
Correct hole sizing ensures secure installation.
| Cotter Pin Diameter | Recommended Hole Diameter |
|---|---|
| 1/16″ | 1/16″ – 5/64″ |
| 3/32″ | 3/32″ – 1/8″ |
| 1/8″ | 1/8″ – 5/32″ |
| 3/16″ | 3/16″ – 1/4″ |
| 1/4″ | 1/4″ – 5/16″ |
A hole that is too large may reduce locking effectiveness.
Types of Cotter Pins
Different cotter pin designs are manufactured to suit a wide range of mechanical and industrial applications. Each type offers specific advantages in terms of installation, strength, reusability, and vibration resistance. Selecting the correct type ensures safer fastening and better performance in both temporary and permanent assemblies.
1. Standard Cotter Pins
Standard cotter pins are the most widely used type and consist of a simple split wire design with two tines that are bent after installation. They provide a strong and reliable locking method for general mechanical connections where safety and stability are important.
Applications
- Castle nuts
- Clevis pins
- Machinery
2. Hammer Lock Cotter Pins
Hammer lock cotter pins are designed with a self-locking mechanism that improves retention under vibration and heavy load conditions. They are widely used in demanding environments where a secure and tight fit is required without frequent maintenance.
Advantages
- Faster installation
- Better vibration resistance
3. Hairpin Cotter Pins
Hairpin cotter pins, also known as R-clips or hitch pin clips, are designed for quick installation and removal. They are reusable and provide a convenient fastening solution for applications that require frequent assembly and disassembly.
Features
- Reusable
- Quick removal
Applications
- Agricultural equipment
- Trailer hitches
4. Bow Tie Cotter Pins
Bow tie cotter pins are reusable fasteners designed with a spring-like action that provides secure holding while still allowing easy removal. They are ideal for temporary or adjustable connections where flexibility is required.
Applications
- Temporary fastening
- Repeated assembly/disassembly
5. Tapered Cotter Pins
Tapered cotter pins are designed with a gradually reducing diameter, allowing them to fit tightly into tapered holes for strong mechanical locking. They provide a firm grip and are commonly used in precision mechanical assemblies where secure shaft connections are essential.
Applications
- Mechanical assemblies
- Shaft connections
You May Also Like Our Latest Article:
Cotter Pin Materials
The material of a cotter pin plays a major role in its performance, durability, and resistance to environmental conditions. Different materials are chosen based on strength requirements, corrosion exposure, and application type. Selecting the right material ensures long service life and reliable fastening in mechanical assemblies.
1. Carbon Steel Cotter Pins
Carbon steel cotter pins are the most commonly used type due to their strength and affordability. They are suitable for general-purpose applications where high corrosion resistance is not the primary concern. These pins offer dependable performance in standard mechanical systems.
Advantages
- Strong
- Economical
- Widely available
2. Stainless Steel Cotter Pins
Stainless steel cotter pins are highly resistant to corrosion, making them ideal for harsh environments. They perform well in conditions exposed to moisture, chemicals, or saltwater, where long-term durability and reliability are essential.
Applications
- Marine environments
- Food processing
- Outdoor equipment
3. Brass Cotter Pins
Brass cotter pins are known for their non-magnetic properties and good corrosion resistance. They are often used in applications where electrical compatibility or appearance is important, offering a clean and non-corrosive fastening solution.
Applications
- Electrical systems
- Decorative hardware
4. Zinc-Plated Cotter Pins
Zinc-plated cotter pins are made from steel and coated with a protective zinc layer to improve corrosion resistance. They provide a cost-effective balance between durability and protection, making them suitable for general industrial use.
Advantages
- Improved corrosion resistance
- Lower cost than stainless steel
Common Cotter Pin Standards
Several standards regulate cotter pin dimensions and quality.
| Standard | Description |
|---|---|
| ANSI B18.8.1 | Inch cotter pin standards |
| DIN 94 | Metric cotter pin standard |
| ISO 1234 | International cotter pin dimensions |
These standards ensure compatibility and reliability.
You May Also Like Our Latest Article:
How to Choose the Correct Cotter Pin Size
Selecting the correct cotter pin size is very important for ensuring safe, stable, and long-lasting mechanical connections. A properly sized cotter pin prevents loosening, reduces wear, and improves performance in assemblies. The selection process depends on hole size, length requirement, load conditions, environmental exposure, and whether the pin will be reused.
1. Match the Hole Diameter
The cotter pin diameter should closely match the hole diameter in the assembled parts. It should fit snugly without requiring excessive force during insertion. A loose fit can cause vibration issues, while an overly tight fit may damage the hole or pin. Proper matching ensures secure locking and stable mechanical performance.
2. Choose Proper Length
The length of the cotter pin must be sufficient to pass completely through the hole and extend beyond the opposite side. This extra length is necessary for bending the tines to lock the pin in place. If the pin is too short, it cannot be secured properly, reducing safety and reliability.
3. Consider Load Conditions
Load conditions play a major role in cotter pin selection. Applications with heavier loads require pins with larger diameters and stronger materials to withstand stress and vibration. Under high load, a weak or undersized pin may fail, leading to mechanical breakdown. Choosing the correct strength ensures long-term durability and safety.
4. Evaluate Corrosion Exposure
Environmental conditions such as moisture, chemicals, or outdoor exposure can affect cotter pin performance. In wet or corrosive environments, stainless steel or coated cotter pins are recommended. These materials resist rust and extend service life. Proper corrosion resistance helps maintain strength and prevents early failure of the fastening system.
5. Consider Reusability
Reusability is another important factor when selecting cotter pins. Hairpin cotters or split pins designed for easy removal are better suited for applications requiring frequent maintenance or disassembly. These types reduce installation time and cost while still providing reliable locking. Choosing reusable options improves efficiency in repetitive mechanical operations.
Cotter Pin Installation Steps
Proper installation of a cotter pin is essential for ensuring a secure and vibration-resistant fastening. When installed correctly, it prevents parts from loosening during operation and improves overall mechanical safety. The process is simple but must be done carefully to achieve reliable performance.
1. Step 1: Insert the Pin
In this step, the cotter pin is pushed through the pre-drilled hole in the assembled components. It should slide in smoothly without excessive force. Proper alignment of the holes is important so the pin can pass through completely and sit correctly within the assembly for secure positioning.
2. Step 2: Seat the Head
Once inserted, the head of the cotter pin must rest firmly against the surface of the fastener or component. This ensures the pin is fully positioned and cannot move further inward. A properly seated head provides stability and helps distribute load evenly across the fastening point.
3. Step 3: Bend the Tines
After seating the pin, the two split legs (tines) are bent in opposite directions. This bending action locks the cotter pin securely in place and prevents it from slipping out due to vibration or movement. It is the most critical step for ensuring a strong and reliable mechanical lock.
4. Step 4: Trim Excess Length (Optional)
If the tines are too long after bending, they can be trimmed for safety and neatness. This step is optional but useful in tight spaces where protruding ends may interfere with nearby components. Proper trimming ensures a cleaner finish without affecting the locking strength.
You May Also Like Our Latest Article:
Cotter Pin Removal Tips
Removing a cotter pin must be done carefully to avoid damaging surrounding components or compromising safety. Since cotter pins are designed for secure locking, proper removal technique ensures smooth disassembly and prepares the joint for inspection or replacement. Following correct steps helps maintain mechanical integrity.
1. Straighten the Tines
Start by using pliers to carefully straighten the bent legs (tines) of the cotter pin. This step is important because the bent ends lock the pin in place. Straightening them reduces resistance and makes removal easier. Take care not to break or weaken the pin during this process, especially in tight spaces.
2. Pull the Pin Out
Once the tines are straightened, grip the head of the cotter pin using pliers and gently pull it out of the hole. Apply steady force rather than sudden jerks to avoid damaging the fastener or surrounding parts. If the pin is stuck, slight twisting can help loosen it for easier removal.
3. Replace Damaged Pins
Cotter pins are generally not designed for repeated heavy use. If a pin is bent excessively, corroded, or weakened during removal, it should not be reused in critical applications. Always replace damaged pins with new ones to ensure safety, reliability, and proper locking performance in future assembly.
Common Applications of Cotter Pins
Cotter pins are widely used in many industries because they provide a simple, reliable, and cost-effective locking solution. They are especially useful in mechanical systems where vibration, movement, or load changes could cause components to loosen. Their versatility makes them essential in automotive, agricultural, industrial, aerospace, and marine applications.
1. Automotive Industry
In the automotive sector, cotter pins are used to secure critical moving parts that experience constant vibration and load stress. They help maintain safe operation by preventing fasteners from loosening during vehicle movement and road impact.
Used in:
- Wheel bearings
- Suspension systems
- Brake assemblies
2. Agricultural Equipment
Cotter pins are commonly found in farming machinery where durability and quick maintenance are important. They are used to secure linkages and attachments that frequently experience heavy loads and outdoor working conditions.
Applications include:
- Tractor linkages
- Hitch systems
- Rotary machinery
3. Industrial Machinery
In industrial systems, cotter pins are used to lock shafts and retain components in rotating or moving assemblies. They help maintain alignment and safety in machines that operate continuously under mechanical stress.
Used for:
- Shaft locking
- Pin retention
- Rotating assemblies
4. Aerospace Industry
Cotter pins in aerospace applications are used in critical systems where safety and vibration resistance are essential. They help secure components that must remain stable under extreme operating conditions and dynamic forces.
5. Marine Equipment
In marine environments, cotter pins must resist corrosion caused by saltwater exposure. Stainless steel cotter pins are commonly used to ensure long-lasting performance and prevent failure due to rust or degradation.
You May Also Like Our Latest Article:
Cotter Pin Strength and Shear Capacity
The strength of a cotter pin depends on several factors that determine how much force it can safely withstand. Proper selection ensures secure locking and prevents mechanical failure in demanding applications.
The load capacity depends on:
- Pin diameter
- Material strength
- Installation quality
Larger diameter pins provide greater shear resistance.
Common Cotter Pin Problems
Cotter pins are simple and reliable fasteners, but they can still develop problems over time due to harsh environments, incorrect installation, or continuous mechanical stress. Understanding these issues helps prevent failures and ensures safe, long-term operation of mechanical assemblies.
1. Corrosion
Corrosion is one of the most common issues in cotter pins, especially when they are used in outdoor, humid, or chemically exposed environments. Rust weakens the metal structure, reducing the pin’s strength and making it more likely to fail under load.
Solution
- Use stainless steel pins
2. Pin Fatigue
Pin fatigue occurs when cotter pins are repeatedly exposed to vibration, load changes, or cyclic stress. Over time, this weakens the material and can cause bending, cracking, or complete failure of the pin.
Solution
- Inspect regularly and replace when necessary
3. Improper Installation
Improper installation is a frequent cause of cotter pin failure. If the tines are not bent correctly after insertion, the pin may loosen or slip out, leading to unsafe mechanical conditions and possible equipment failure.
Solution
- Always bend tines fully and securely
4. Hole Wear
Hole wear happens when the mounting hole becomes enlarged or damaged due to repeated use or movement. This reduces the grip of the cotter pin, making it less effective at locking components in place.
Solution
- Replace worn components
Cotter Pin vs Split Pin
In many countries, the terms cotter pin and split pin are used interchangeably to describe the same fastener. However, in some mechanical contexts, a cotter may also refer to a wedge-shaped locking component, which is different from a split wire pin.
Cotter Pin vs Roll Pin
| Feature | Cotter Pin | Roll Pin |
|---|---|---|
| Design | Split wire | Hollow cylinder |
| Installation | Bent after insertion | Press-fit |
| Reusability | Sometimes reusable | Usually permanent |
| Main Purpose | Locking | Positioning |
Conclusion
A cotter pin size chart is essential for selecting the correct locking fastener for automotive, industrial, agricultural, and mechanical applications. Proper cotter pin sizing improves safety, prevents loosening, and ensures reliable equipment performance.
When choosing a cotter pin, always consider:
- Pin diameter
- Length
- Hole size
- Material type
- Load conditions
- Corrosion resistance
Using the correct cotter pin size and installation method helps maintain secure connections, reduce maintenance problems, and improve long-term operational safety.

Engineer Hassan is a Mechanical Engineer with 16+ years of hands-on experience in mechanical hardware, fasteners, and workshop tools. He focuses on size selection, thread identification, and measurement, helping users choose the correct components with accuracy and safety.